March 2016 Archives
What all the best dressed boat owners are wearing this season, White Tyvek.
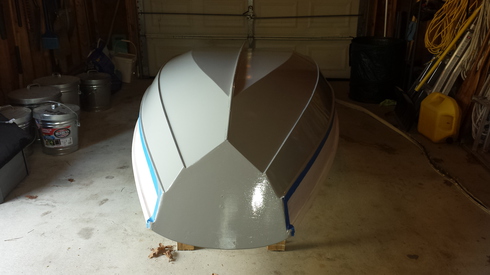
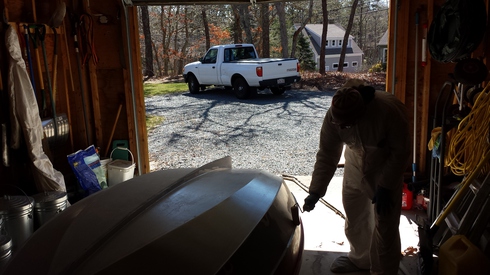
The neighbors must wonder what's up at 288. What with the two of us traipsing back and forth in our Tyvek outfits between basement and garage. The Skerry is in the basement and now the Nutshell Pram is getting a new coat of paint in the garage. Both are being worked on sequentially. Sand and epoxy Skerry, sand and paint Nutshell. Back and forth. 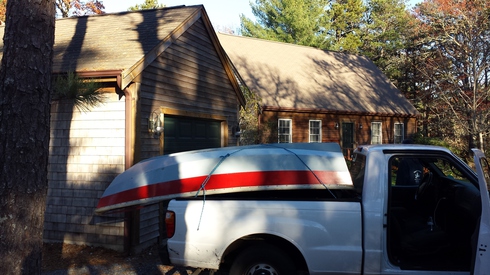
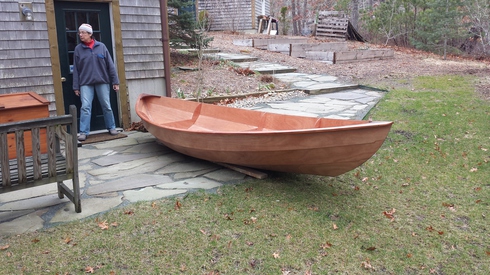
The terrific thing about the Nutshell is that it fits on the back of the truck. We can drive to any town landing and launch to go for a row. The Nutshell is perfect for the two of us and short row. Quiet exercise.

Loaded and ready for a row.
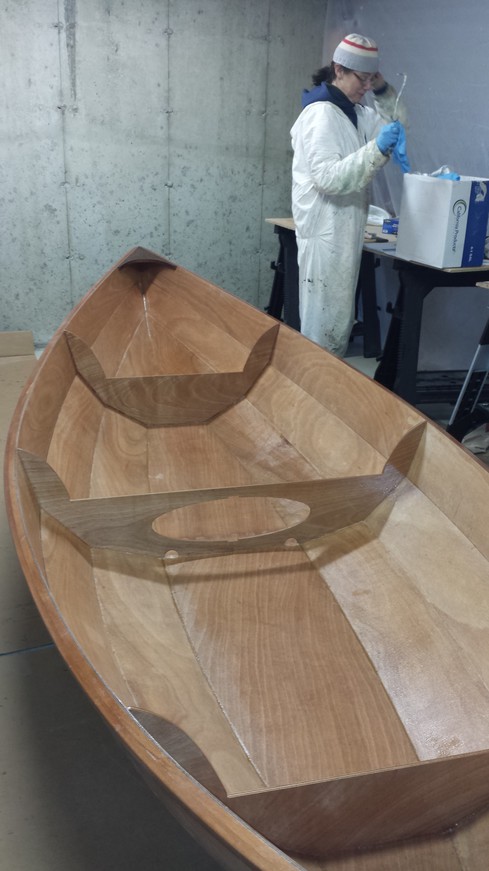
Moving along as fast as epoxy can cure! Another coat on the interior and seats/thwarts. At these temps, it will take a couple days indoors to cure properly. Next, we roll on a coat of epoxy on the exterior. Need a dry day for the outdoor portion of preparation.
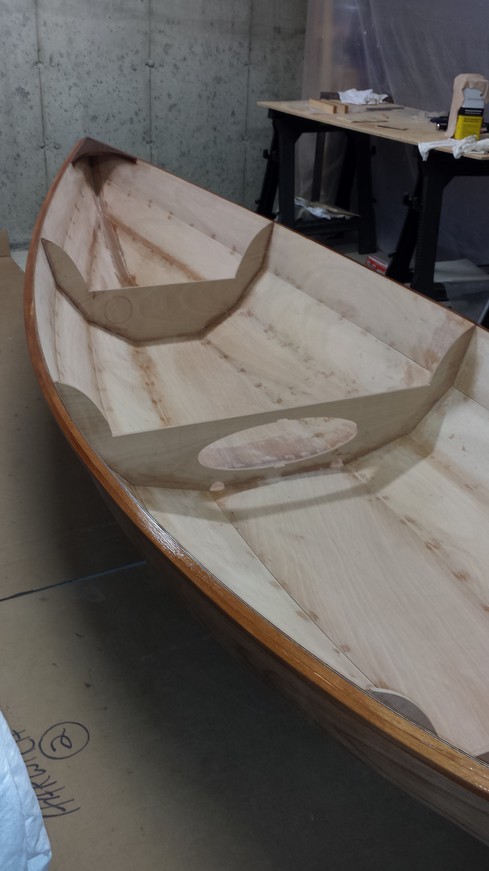
We lifted the boat out of the basement in order to sand the interior thoroughly before filleting the plank seams and then rolling on a layer of clear epoxy. That is now complete. The boat, named Zeppelin by our grandson Zephyros is approaching a launch date. Things are still brown as Spring has yet to really arrive on Cape Cod. We expect the craft to be ready before too long, certainly well before the summer sailing season.
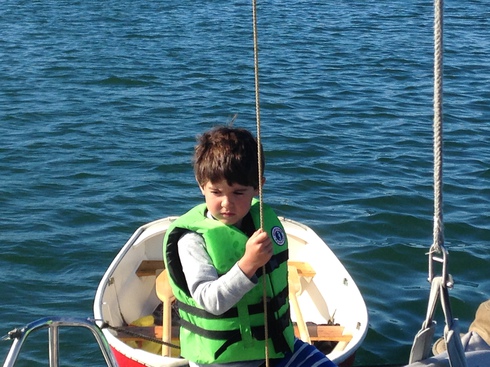
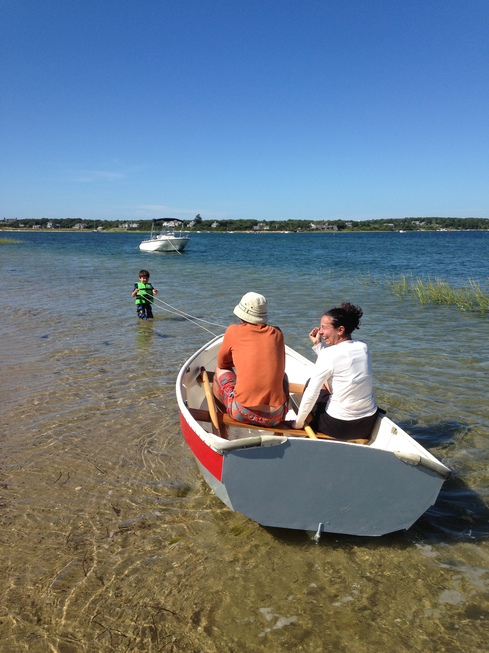
Two pictures from 2014. I like the way Z holds the backstay lounging in the stern like his sailing instructor grandpa used to. We have a Nutshell pram the kids love to use and towing mom and dad around in shallow water is what kids calls fun. Boys and boats. Soon, he'll be sailing the Skerry with his little sister, Marina. Families and boats!
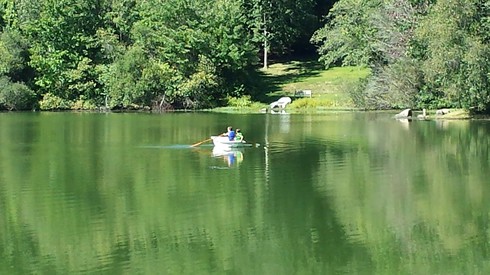
The Connecticut grandkids also like boats. We bought and delivered a little skiff to their home which features a pond in the back yard! Pretty cool. They have some remarkable adventures in that little row boat.
OK. Back to work after a week away. The next phase of the project is to glass the interior layer and roll on a first coat of epoxy to the interior bare wood. The job is similar to the way the bottom was glassed but more difficult. Each of the four sections is laid up separately and the work is fussy. We precut the section, wet them out and trimmed them on Tuesday. The following day, we rolled on the first layer of bare wood epoxy. As usual, no arguments, plan, work the plan, work fast. Just a fun time building the boat.
Chesapeake Light Craft wrote a good instruction manual which we follow closely. Plan the work. Work the plan.
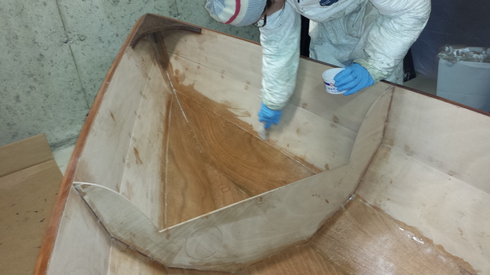 Elizabeth has trimmed the cloth and is cleaning the excess epoxy from the wood in preparation for a smooth coat of clear epoxy on the next day.
The glass has been wetted out with epoxy and is awaiting trimming of the excess cloth.
 Elizabeth has trimmed the cloth and is cleaning the excess epoxy from the wood in preparation for a smooth coat of clear epoxy on the next day.
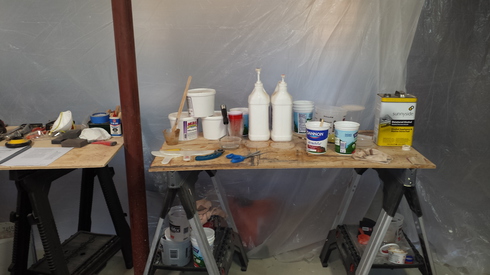
Our work space is fairly tidy. Clean bench and tools to the left. Epoxy mixing bench and tools to be cleaned to the right.
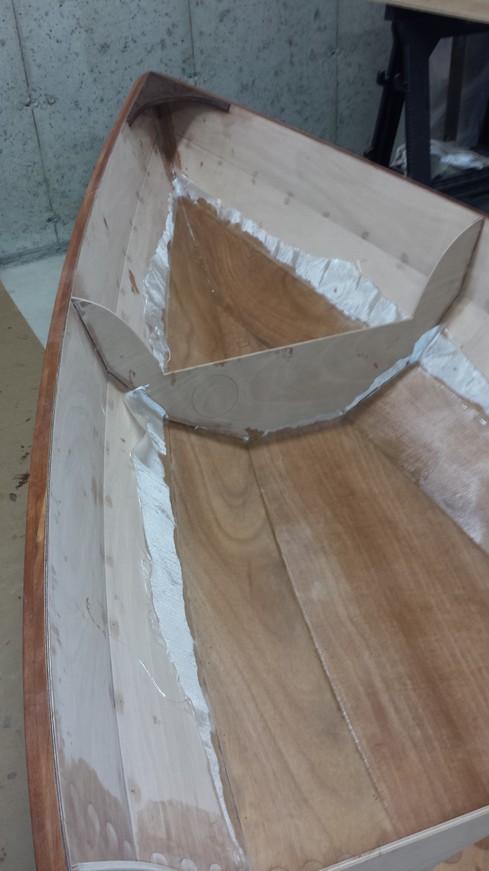
Done! The glass cloth is saturated with epoxy, trimmed and the bare wood is coated with clear epoxy resin. This is what the boat would look like if varnished. We have the idea of painting the inside bottom and garboard strake with a buff color non-skid and varnishing strakes two and three. The seats have yet to be installed.
Plan A for the exterior finish is a dark green hull with the sheer strake, (strake three) varnished. We plan to varnish the spars. The project is getting to the point where we think about finishing and sailing. How about that?
Elizabeth's nephew, George married Cayley in DC and we went to the event. It was quite a wedding. Somehow we forgot to get a picture of the bride and groom! She was stunning and he was handsome. The affair was black tie so that was a big change from the standard Cape Cod attire of work clothes, clean for a dinner out is about the only requirement.
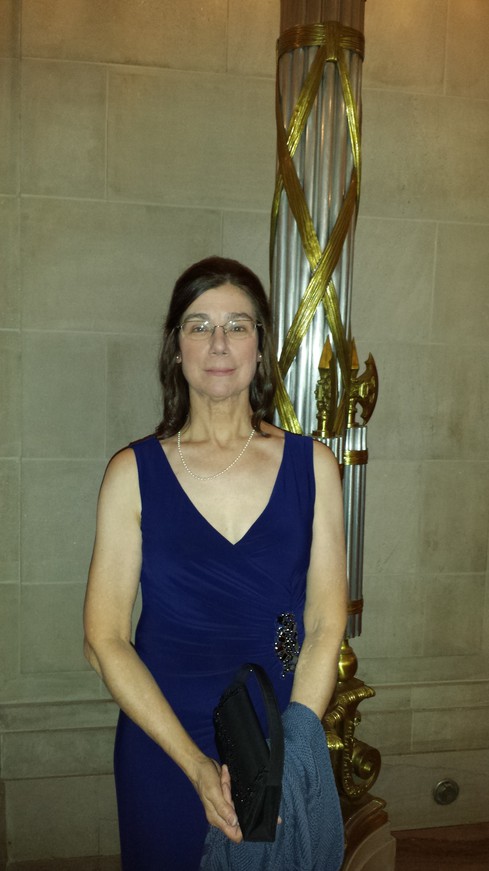
Elizabeth in her new dress. Somehow, her planned dress fell of the hanger and didn't make it to Washington without our noticing it was not in the dress bag. She and I, at the last minute, rushed over to Lord and Taylor, found a dress that fit and rushed back to the house. Elapsed time door to door, under an hour!
Norm in his penguin suit. Picked it up at the local thrift shop. My third tux and I doubt I will buy another anytime soon. Elizabeth and I both need some sun!
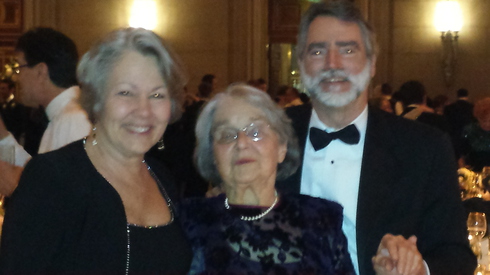
Grandma with her nephew, Ed and his wife, Becky. Ed and Becky are a terrific couple. We also saw Elizabeth's nephew, Greg Lamb, and his new girlfriend, Amanda. They came down from Portland, Maine. Zach and Tab also made the wedding. It was a fun table of family we hadn't seen in ages. Grandma had the time of her life.
Thanks to Cayley's mom and dad for being such terrific hosts. We had a chance to speak with both and only hope we see them again.
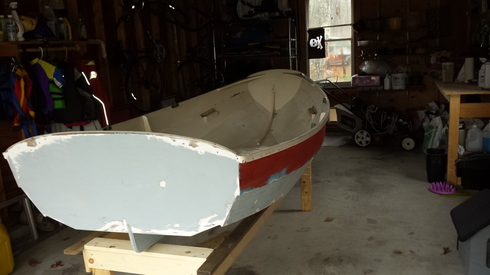
We have a Nutshell Pram which we bought in Maine a few years ago. While in Boston, we didn't use it at all. Once on the Cape, it has turned out to be a handy little boat. We enjoy it by loading it onto the back of the truck and driving to a public launching area and then rowing the associated body of water. The grandkids love it for all the right reasons... it is way too much fun.
Luke and Marc were so excited about it that we found a small fiberglass rowboat for them to have at their home. Marina and Zephyros have had fun with the boat here on Cape Cod.
It is time for a refit. We have sanded the interior and exterior in preparation for painting. The colors are pretty much matched to Averisera, beige interior and grey/red exterior. The big boat, Averisera, has a white hull with grey and red stripes. The interior is being finished in beige. Assuming we ever get her finished.
The garage normally is used for our Ford Fusion. The priority of boat projects!
Lots of fussy work lately sanding and filling as well as coats of clear epoxy which takes a long time to cure. At this point, the skeg is installed and has two coats of epoxy. The rails have been epoxied with one coat. They get a total of three before we varnish them with the uv-protective varnish.
Inside, we have have sanded and filled as required. The inside is ready for a fairly complex bit of work, fiberglassing the bottom and sheer strakes. Because of a forthcoming wedding, we are interrupted for a few days. Probably, we will apply a second coat of epoxy to the rails and head off to the wedding. The epoxy will certainly be cured upon our return.
Curing time for epoxy is at least 24 hours and often 48, depending on temperature and humidity. Right now, it is pretty chilly and raining hard! Winter is making way for Spring and faster curing times.
One of the many benefits of this project is the gaining of familiarity and competence with tools and materials for working on Averisera. Projects that once seemed daunting are becoming routine.
Several bulkhead repairs are required where old instrument pods were located and no longer necessary. There are also various chips and dings to be filled and faired before paint or gelcoat is applied.
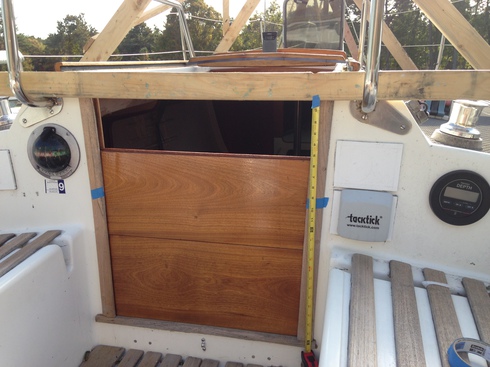
This picture shows the washboard height required to meet offshore regulations of no openings below the sheerline. We will make a test washboard and see if we can climb over it. All part of the fun. Meanwhile, the epoxy and fairing skills are well in hand, thanks to the Skerry Project.
Comments such as, "This is an awful lot of fun," are frequently spoken. So far so good. We have even been thinking about the part of the project that deals with sailing. You know, spars, foils, sails, and cordage.
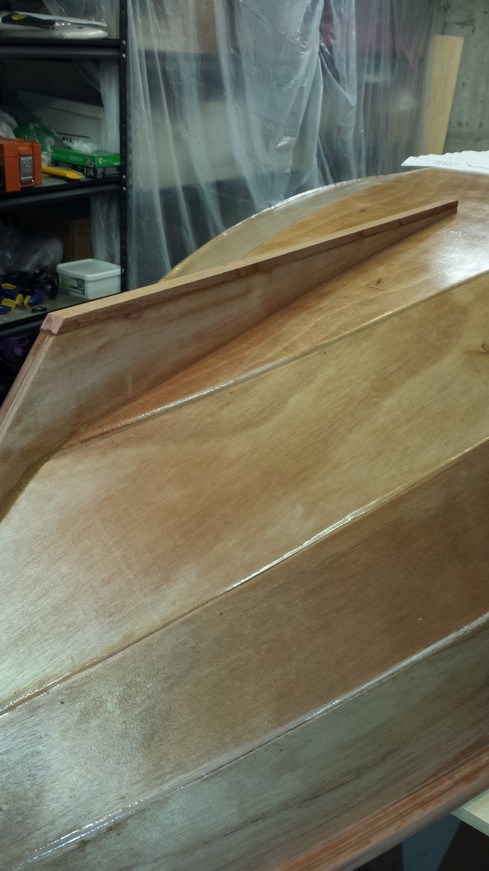
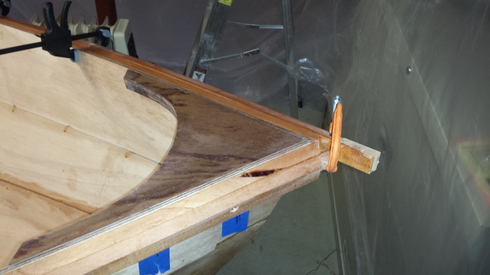
Meanwhile we have shaped the rails, installed the skeg and worm shoe, and filleted everything with epoxy and wood-flour. Installing the skeg was entertaining. It requires a bit of precision to get it upright and in the center. We are pleased with the results. Next up are the two coats of plain epoxy on the bare wood of the rails and skeg.
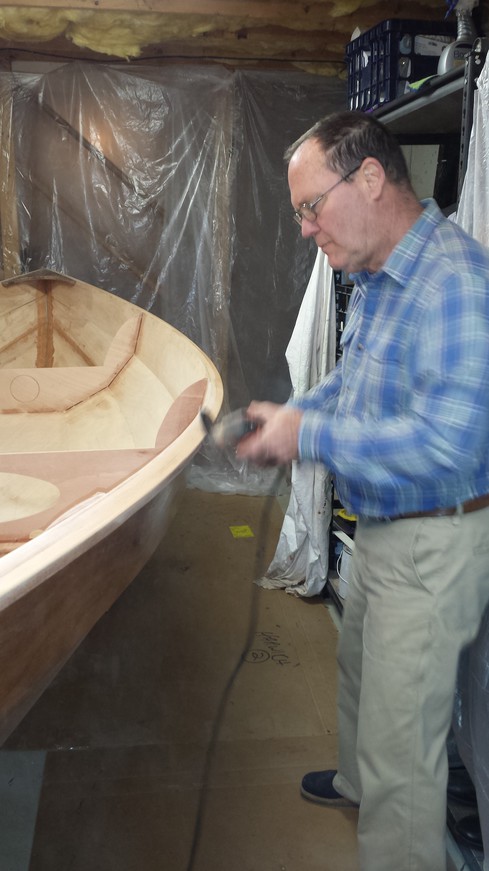
Norm at work with the Fein MultiMaster (FMM 350Q) sanding disk element. The Fein tool is very useful for cutting and shaping various parts.
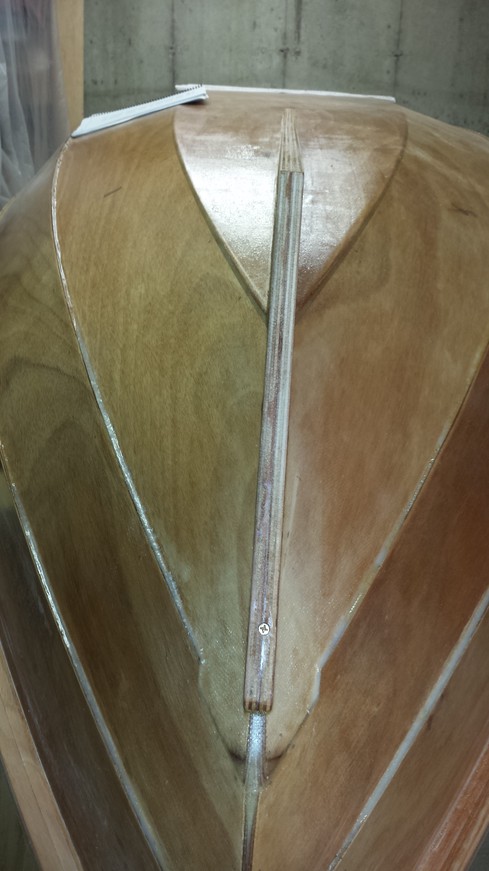
The skeg looks straight to us. If it isn't, just don't say anything since we aren't about to remove it. The thing is epoxied and screwed in place. One thing we did that was not in the instruction book was to screw the tip in place. The skeg had a little warp which we straightened and held in place with a small screw.
Finally, the worm shoe is glued and nailed in place. For a sacrificial piece, it seems very permanent. It has the purpose of protecting the skeg from chafe as we use the boat at the beach.
Here we are in early March, 2016 and the idea of going for a sail in the Skerry really seems close at hand.
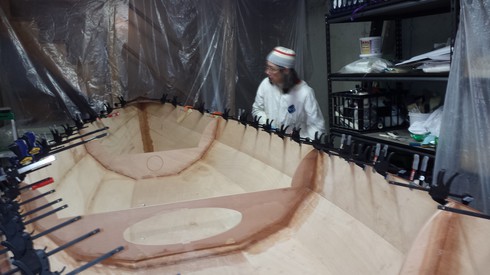
The rails are on and curing. Yes, we used a lot of clamps, 40 in all. It was kind of nerve-wracking to handle the rails, screws, and wet epoxy. I suppose it could have gone horribly wrong but it didn't. The instructions are very clear and that is very helpful. We have a lot of discussion/worrying about various details, read and reread the instructions before diving into the next aspect of the project. Darn... it always seems to work out as stated. We can't be more pleased with the Chesapeake Light Craft Company.
Zeppelin advances...
Once the epoxy has cured for a day or so, we will start the glassing and epoxy coating of the interior. Tomorrow might be a snow day which is ideal for watching epoxy cure!
In other news: we found a blog by a woman who has a nutshell pram she sails and rows in various places around New England. Perhaps we will Skerry-sail and Nutshell-sail together around the Cape. Her blog is here: http://soozeeque.blogspot.com
